Installation
Fastest installation
Find the virtual machine you would like to install the agent for. Then click the blue ellipsis "View details" button.

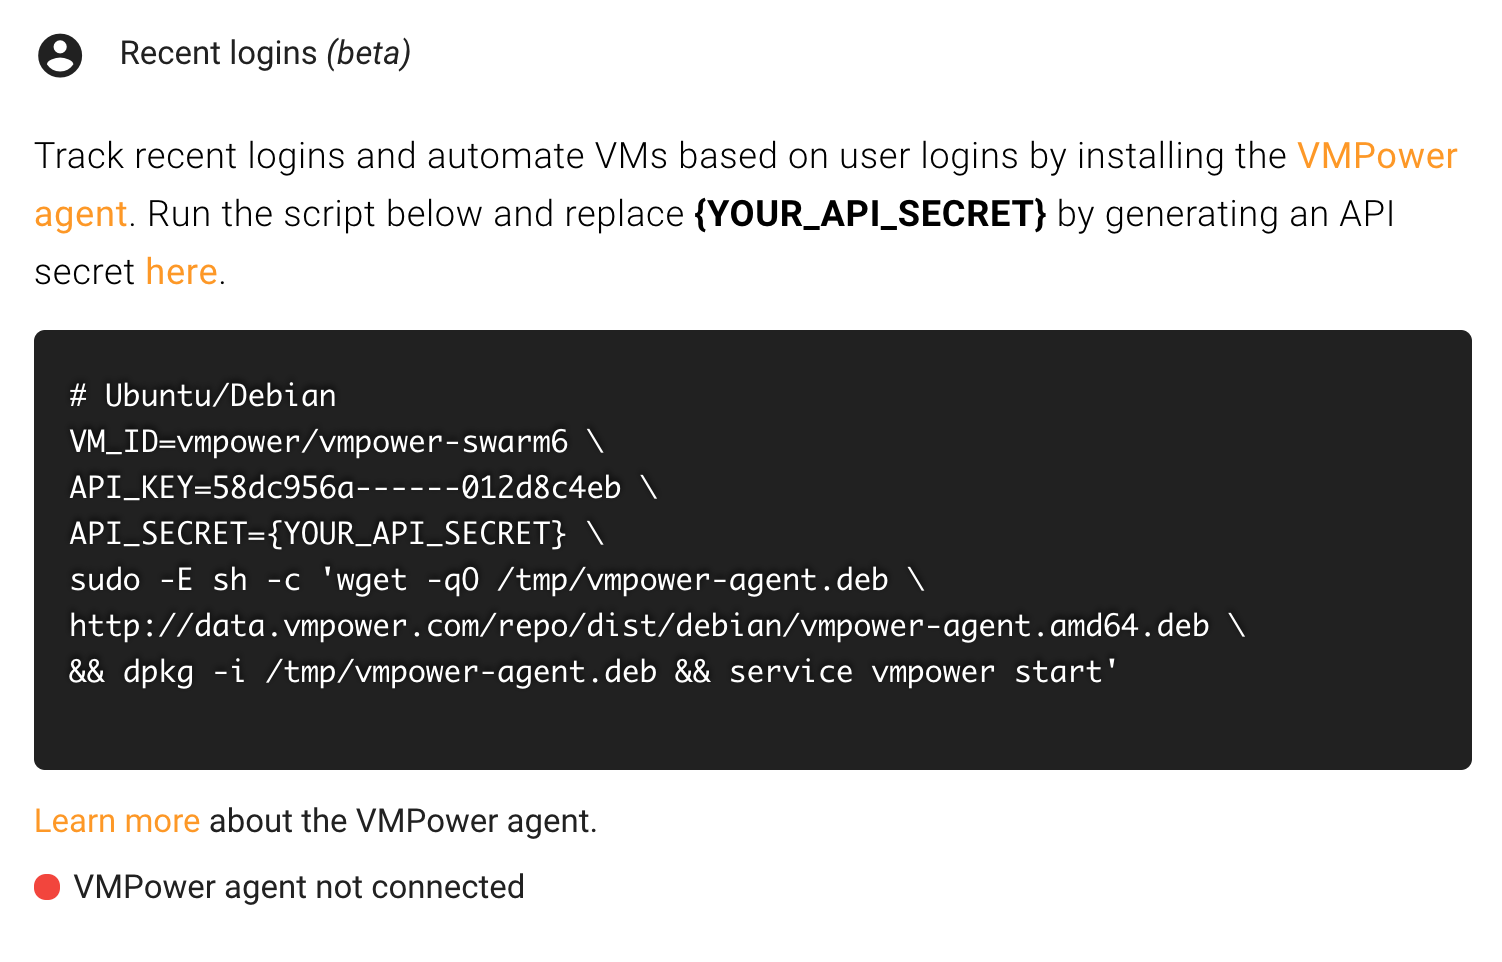
You'll then be provided a customized script specific for that VM that you can copy and paste either into Bash (for Linux VMs) or Powershell (Windows VMs).

Get an API secret and replace {API_SECRET} with your API secret, then run the script on the VM. When the agent is connected, you'll see the red indicator turn green.
Ubuntu/Debian
Run the following commands which will download the VMPower agent Debian package and automatically configure the agent with your API key, API secret and VM identifier. It will also install the VMPower agent as a sysctl service, start the service and set it up to automatically start on reboot.
Replace the following placeholders denoted by < and > with:
<API_KEY> - Your VMPower API key
<API_SECRET> - Your VMPower API secret
<YOUR_VM_ID> - Your VM ID. This can be found by looking at the name of the VM
VM_ID=vmpower/vmpowerdrone \
API_KEY=<YOUR_API_KEY> \
API_SECRET=<YOUR_API_SECRET> \
sudo -E sh -c 'wget -qO /tmp/vmpower-agent.deb http://data.vmpower.com/cdn/dist/debian/vmpower-agent.deb && dpkg -i /tmp/vmpower-agent.deb && service vmpower start'
Windows
First, be sure to download and insall Chocolatey.
Run the following commands which will download the VMPower agent Chocolately package and automatically configure the agent with your API key, API secret and VM identifier. It will also install the VMPower agent as a Windows service, start the service and set it up to automatically start on reboot.
Replace the following placeholders denoted by < and > with:
<API_KEY> - Your VMPower API key
<API_SECRET> - Your VMPower API secret
<YOUR_VM_ID> - Your VM ID. This can be found by looking at the name of the VM
(New-Object System.Net.WebClient).DownloadFile("https://vmpower.blob.core.windows.net/cdn/dist/win32/vmpower-agent/vmpower-agent.0.0.1.nupkg", "vmpower-agent.nupkg")
(choco install vmpower-agent --source "'.;https://chocolatey.org/api/v2/'" -params "/API_KEY:'<YOUR_API_KEY>' /API_SECRET:'<YOUR_API_SECRET>' /VM_ID:'<YOUR_VM_ID>'")
This command will automatically configure your agent. If you need to, you can manually update your configuration file.
VM_ID=vmpower/vmpowerdrone \
API_KEY=<YOUR_API_KEY> \
API_SECRET=<YOUR_API_SECRET> \
sudo -E sh -c 'wget -qO /tmp/vmpower-agent.deb http://data.vmpower.com/cdn/dist/debian/vmpower-agent.deb && dpkg -i /tmp/vmpower-agent.deb && service vmpower start'
https://api.vmpower/io
Confirming successful connection
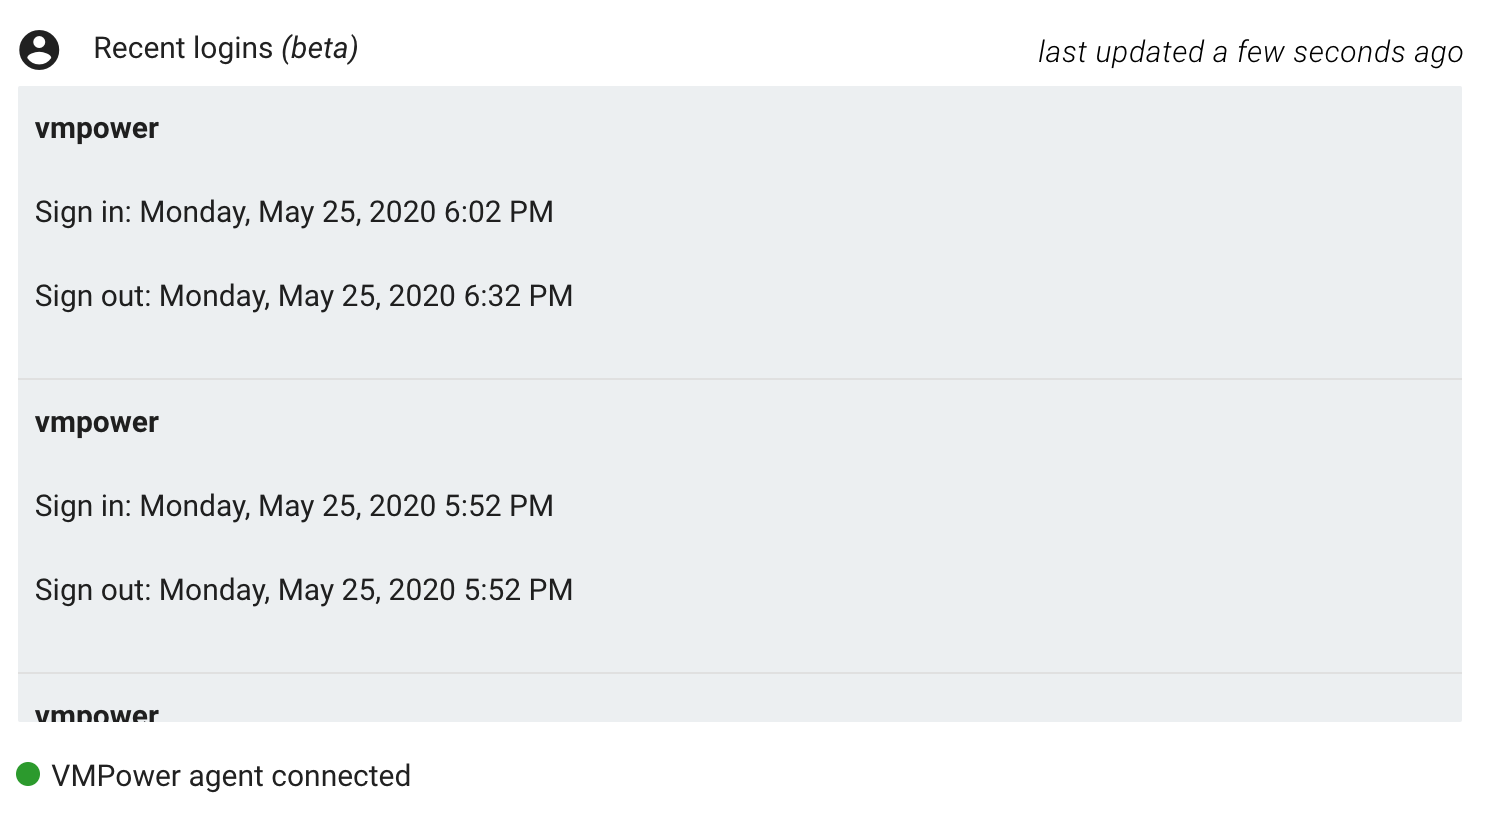
You can confirm that agent has successfully connected to VMPower by looking at your VM in VMPower and confirming if the "VMPower agent connected" tag is on the VM.

Additionally, you can click into the elpsis icon to view the VM details. In this view, you can see the recent logins and the last time VMPower received information from the agent.

Manually installing the binaries
Rather than automatically installing the agent, you can download the executables for your platform directly. The table below shows the download links by platform.
| Platform | Link | Checksum |
|---|---|---|
| Linux | [http://data.vmpower.com/repo/dist/linux/vmpower-agent.amd64.tar.gz]http://data.vmpower.com/repo/dist/linux/vmpower-agent.amd64.tar.gz) | MD5 checksum |
| Windows | http://data.vmpower.com/repo/dist/win32/vmpower-agent/vmpower-agent.amd64.zip | MD5 checksum |
You will also need to manually create the configuration file.
Manually updating the configuration file
You can update your VMPower agent configuration by updating the configuration file. This file is automatically installed and loaded from:
| Config file path | Platform |
|---|---|
| /etc/vmpower.conf | Linux |
| C:\ProgramData\vmpower\vmpower.conf | Windows |
You can modify this file with any text editor. This file is in JSON format:
{
  "key": "<API_KEY>",
  "secret": "<API_SECRET>",
  "vm_id": "<VM_ID>"
}
Information collected
The VMPower agent collects from your VM:
- User names
- Login and logout times
- System time
- VM operating system name
This information is only used to provide automation and Auto-off features and is never shared with 3rd parties.